ThinkPad x230 (x330)
This blog post will be a documentation of upgrading a ThinkPad x230.
When I started college, I knew I needed a laptop. There were plenty of options to choose from, but for whatever reason I fell in love with the design of the ThinkPad x230... and I stumbled down the rabbithole of decking the heck out of this particular laptop.
The community involving ThinkPads is so great, there are so many cool mods and documentation on this laptop that I felt inclined to get one and learn from these great people.
It is definitely an old laptop. So by the time anyone reads this post, I wouldn't recommend going through the process of upgrading it like me (since the hardware of this laptop is really old), unless you want to do it for the experience of course.
Upgrading soldered CPU
Unfortunately, the CPU on this laptop is soldered and the one that I had was an i5. I knew I wanted a more powerful one, so the only obvious choice would be to buy a new board with a better CPU soldered in.
This laptop was only manufactured with the following Ivy Bridge (3rd gen) CPUS:
| i7-3520M | i5-3360M | i5-3320M |
|---|
However, these are all dual core... which is starting to show its age. Fortunately, modders of the ThinkPad community have figured out that the board supports other processors by performing BGA rework.
| i7-3615QE | i7-3612QE | i7-3540M | i7-3687U | i7-3689Y |
|---|
I don't have the skills to perform a BGA rework, but fortunately there are sellers that sell a x230 motherboard with the BGA rework already done. So I ended up buying a i7-3615QE which is a quad-core variant. From AliExpress.
Unfortunately, the board arrived with a broken backlight fuse... so I had to solder a bridge on the fuse (which I eventually replaced with a working fuse).
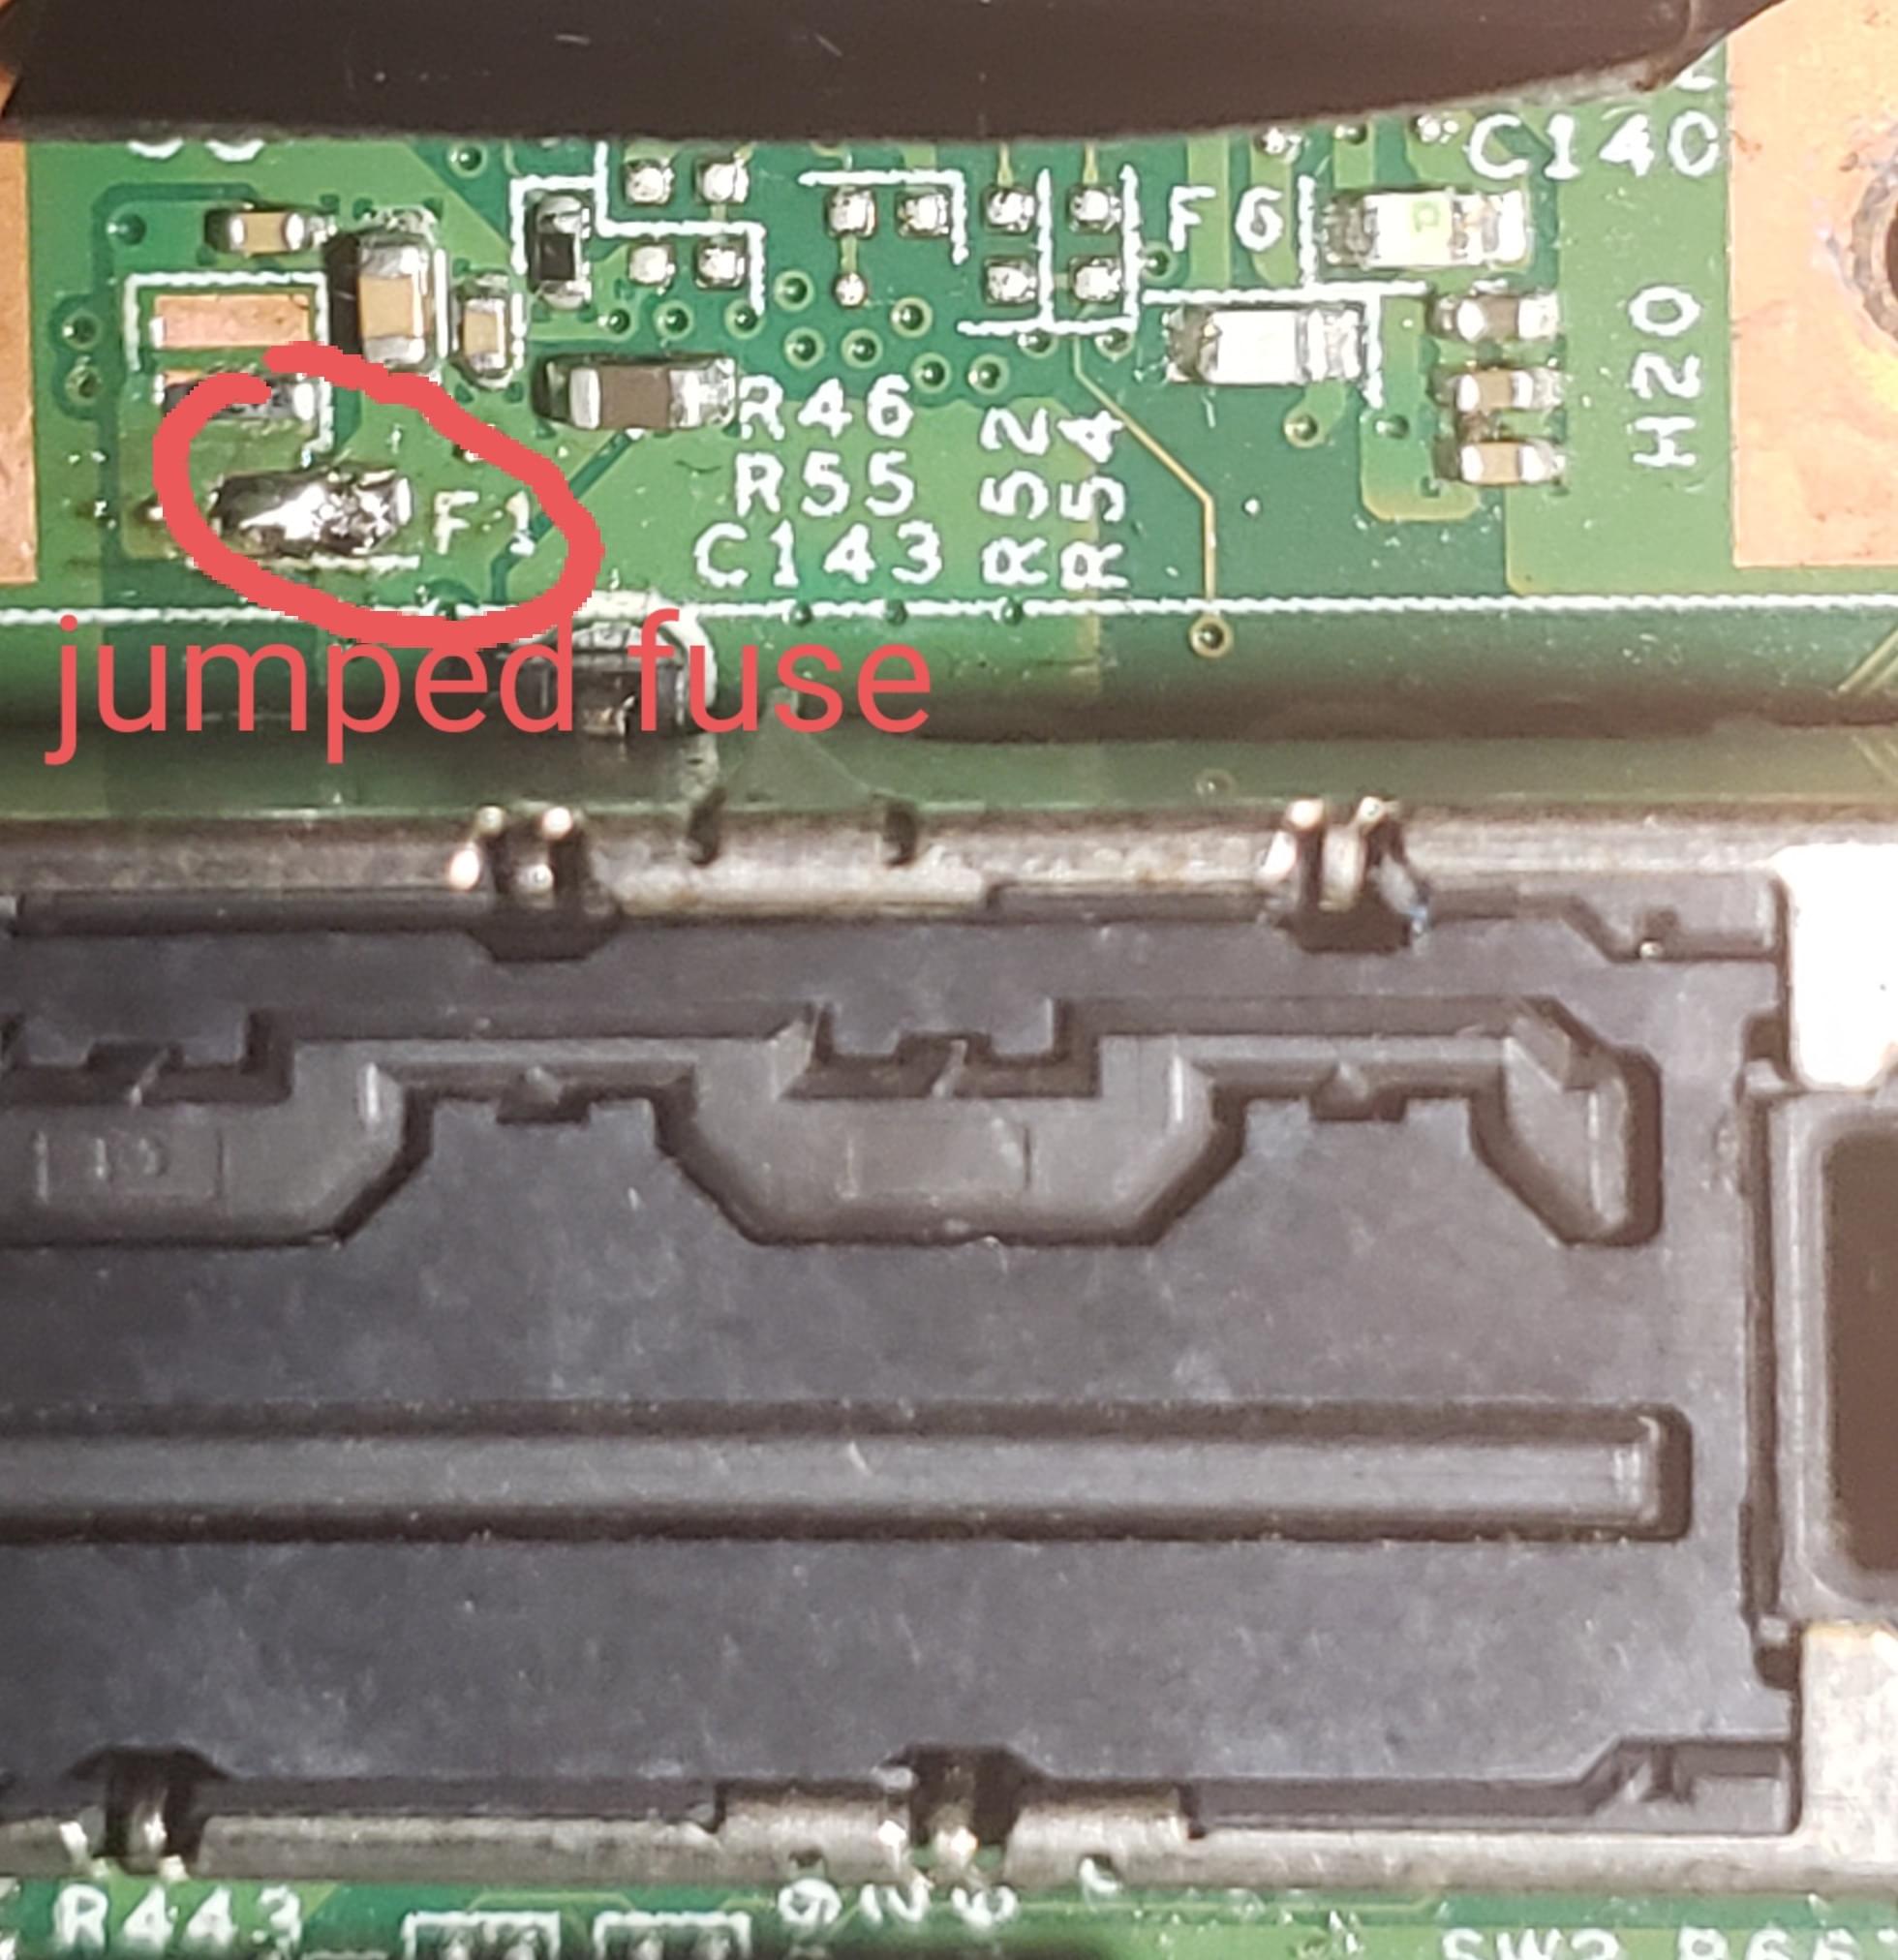 image caption: jumped backlight fuse
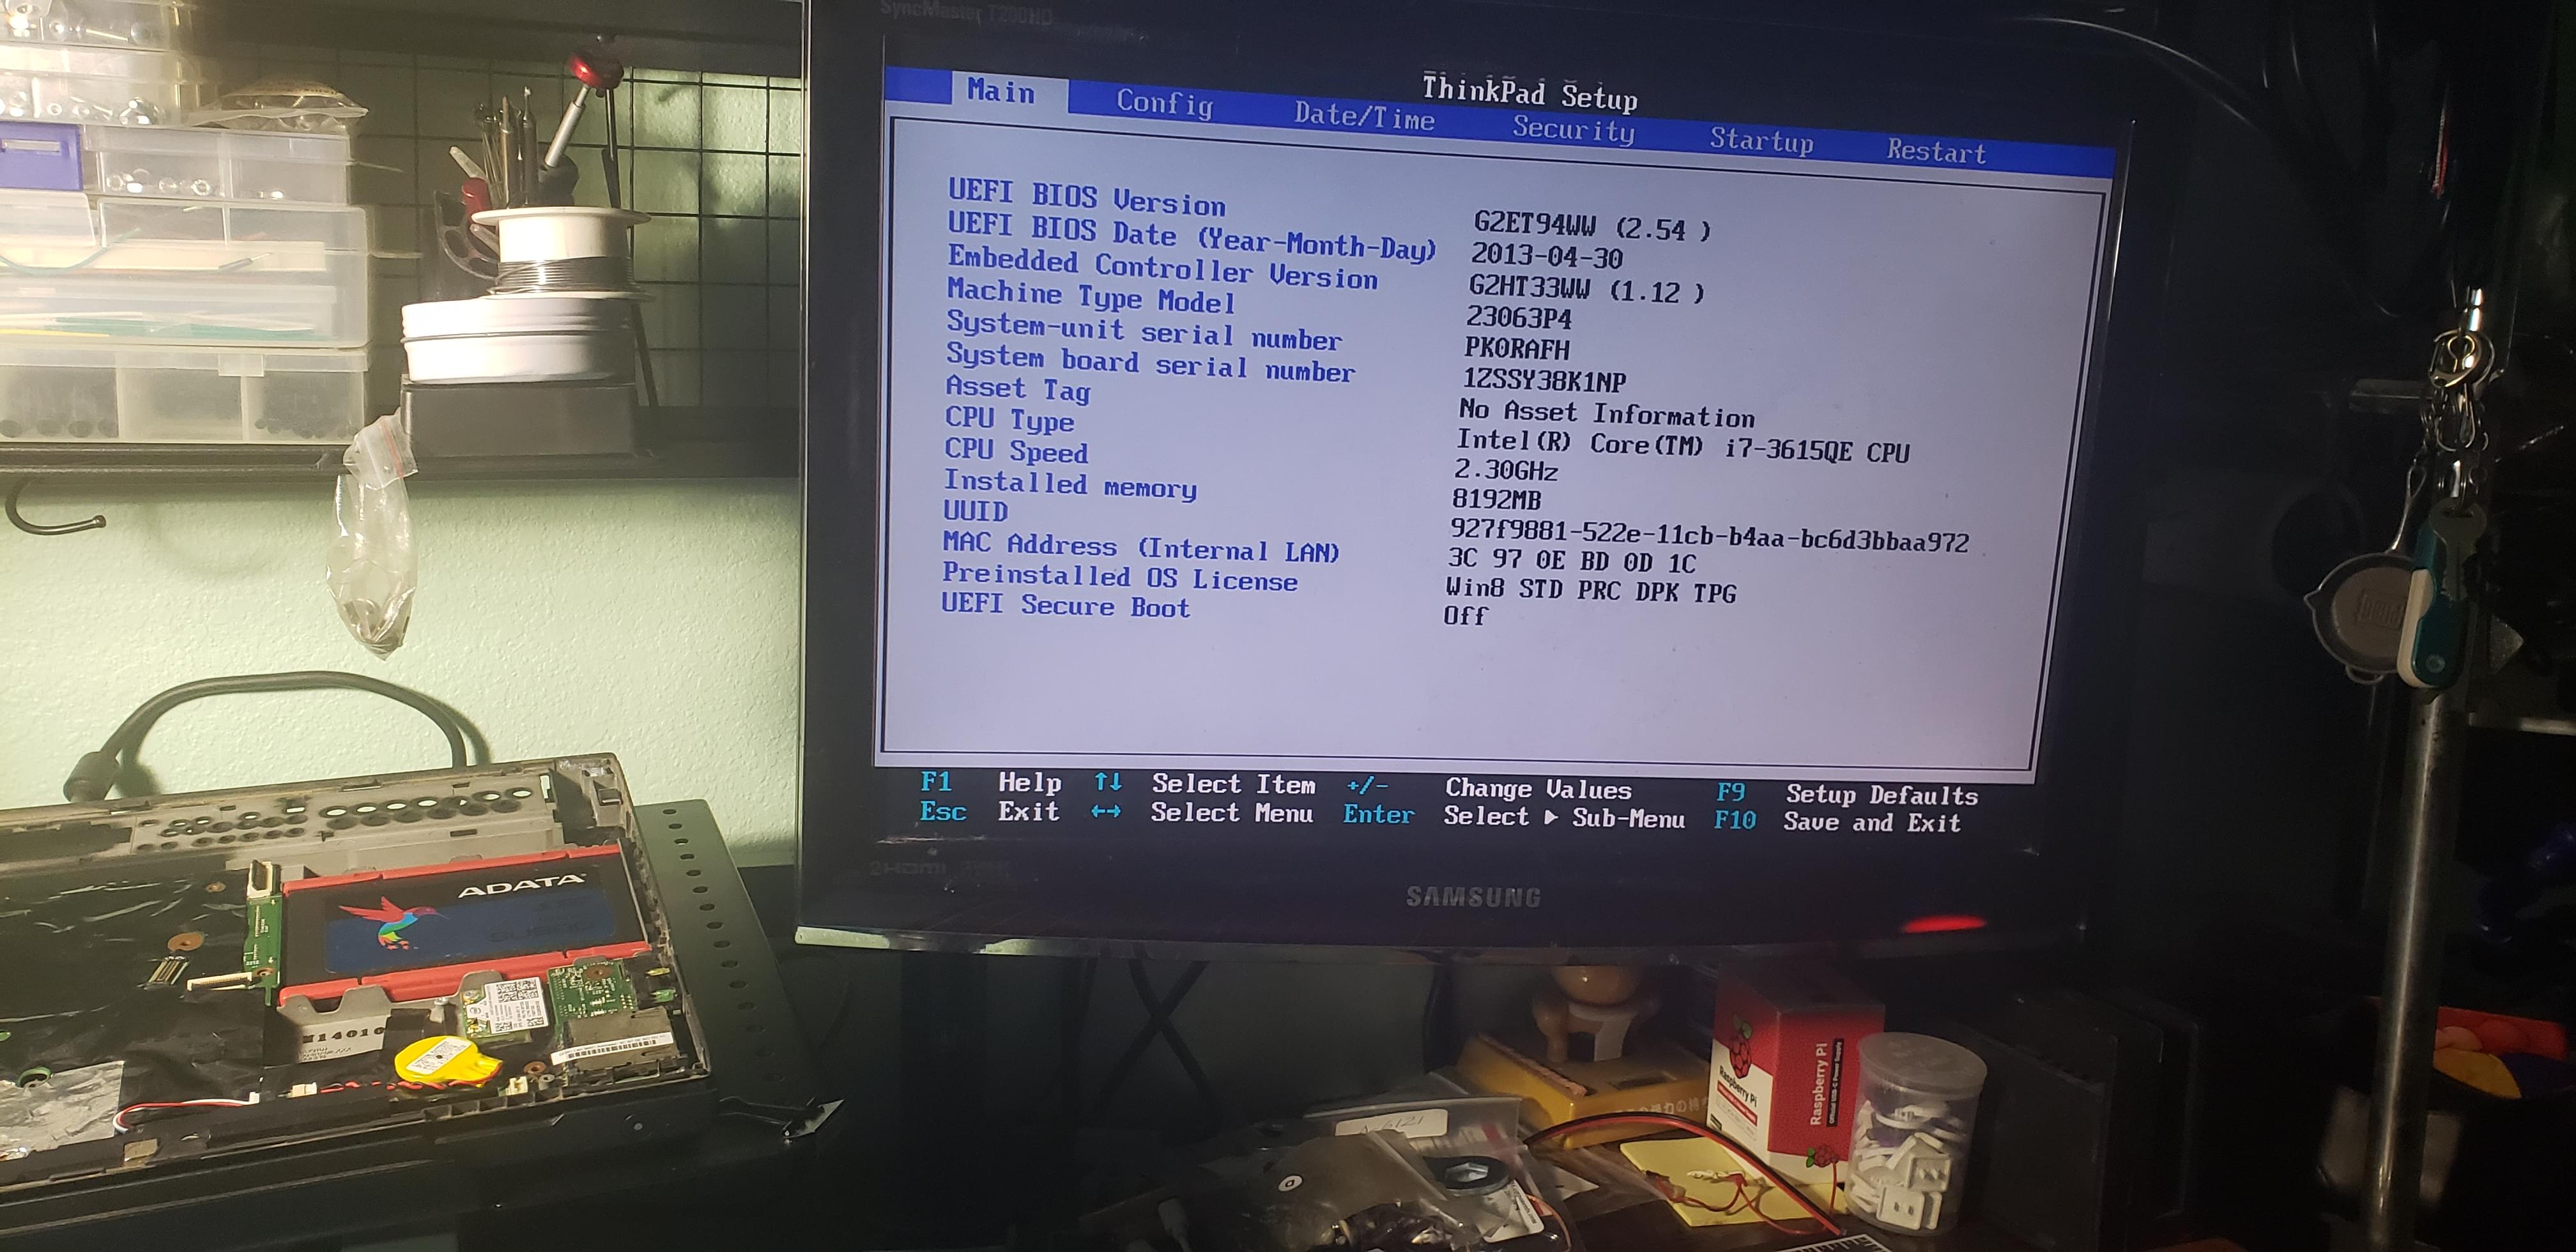 image caption: it's alive
Upgrading the screen
With the new i7-3615QE board ready, it was time for me to do a screen upgrade.
The laptop is capable of taking non-stock panel upgrades if you use a panel mod board. At the time of writing, there are two community produced boards avaliable:
| Nitrocaster | a.gain 1080p/2k |
|---|
I initially went for the Nitrocaster, which I had bought 4(?) years before my plan of creating this laptop. This board hasn't been stocked since the time I bought it.
The soldering of the board was not difficult to me, however the entirity of this DIY did not ever go to plan.
I had broken the screen multiple times in the process (2x broken screens), so if you are planning on doing this, don't be reckless
like me...
Anyways, the Nitrocaster worked... sort of. For whatever reason, it had issues with the backlight not coming on
at BIOS which really, really annoyed me. I did not have the technical expertise to find out what was causing it.
So I ended up also getting an a.gain board, which turned out to be a better mod because there were 2k panel options compared to the
Nitrocaster.
The modding experience was way better on this board in my opinion.
Misc. hardware modifications
I opted to use a x220 keyboard in place of the x230 keyboard. The community prefers the older style keyboard and figured out a way to get it patched with EC firmware and get it working properly on a x230 board.
I also upgraded the wifi card to a AX200 with bluetooth. This would require me to flash the bios remove the whitelist in order to use it.
Coreboot
With the hardware mods in place, it was time to flash an open-source BIOS called Coreboot... the most time consuming part of the whole operation.
Hardware tools
There are many ways to get the hardware setup for flashing the BIOS chip. This is the list of tools that I used:
| 8-pin SOIC test clip | Raspberry Pi 4 |
|---|
A lot of other guides use a CH341a which omits the use of a Raspberry Pi, but at the time it was what I already had laying around so I'd figure to use the pi instead.
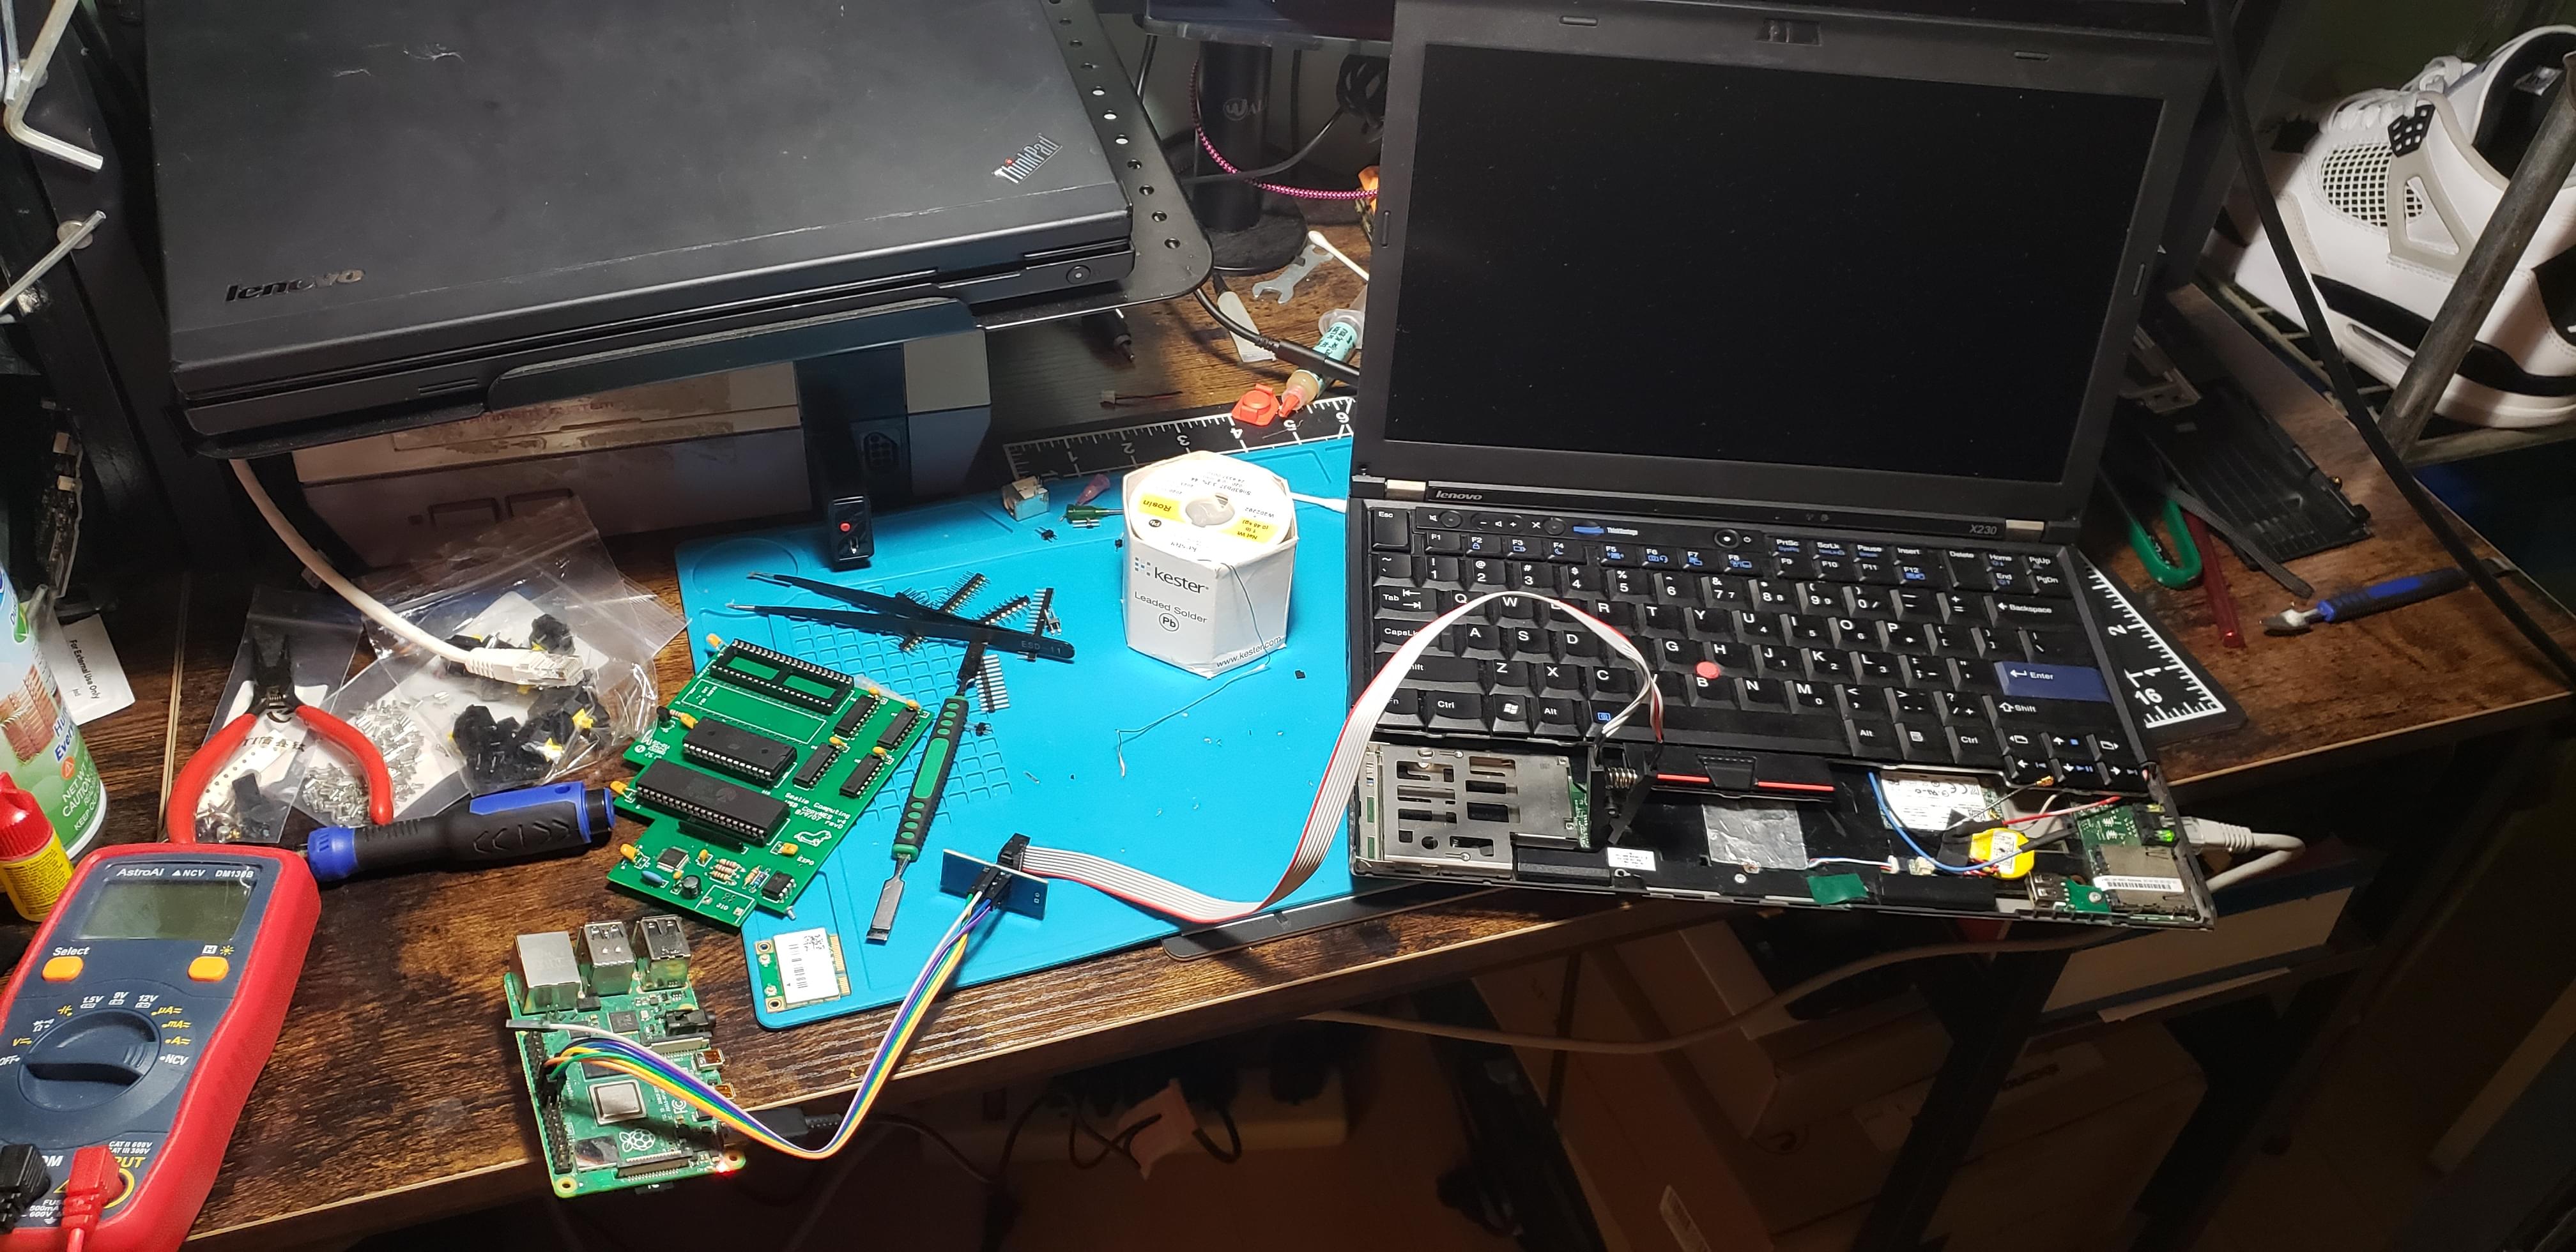 image caption: the operating table
The tricky part was getting 3.3v to the chip, but the Raspberry Pi did not have a stable voltage to do so. Fortunately, if you enable Wake-on-LAN in the stock bios and plug in Ethernet, that should be enough to satisfy the 3.3v requirement.
For reference, I used the following guides for figuring out how to flash coreboot:
- https://www.chucknemeth.com/laptop/lenovo-x230/flash-lenovo-x230-coreboot
- https://www.xyte.ch/support/x330-support/x330-bios
- https://stafwag.github.io/blog/blog/2022/01/21/install_coreboot_on_x230
The information is really scattered across the internet and a lot of stuff is not up-to-date. So if you are planning on doing this, please read carefully.
Compiling and flashing
This was by far the most difficult part, as many of the guides found online are years old, a lot of the build process I would had to figure out myself. The part that gave me the most trouble was figuring out how to configure coreboot with a FHD patch and a custom splashscreen.
I had to clone the coreboot respository and cherry-pick a user patch that still hasn't merged, and I soon find out why. The amount of people running and doing the same setup was probably in the dozens. This means that there isn't much support or testing, probably why the PR went stale.
In the end, I figured it out and was able to build successfully! So I tried flashing it for the first time...
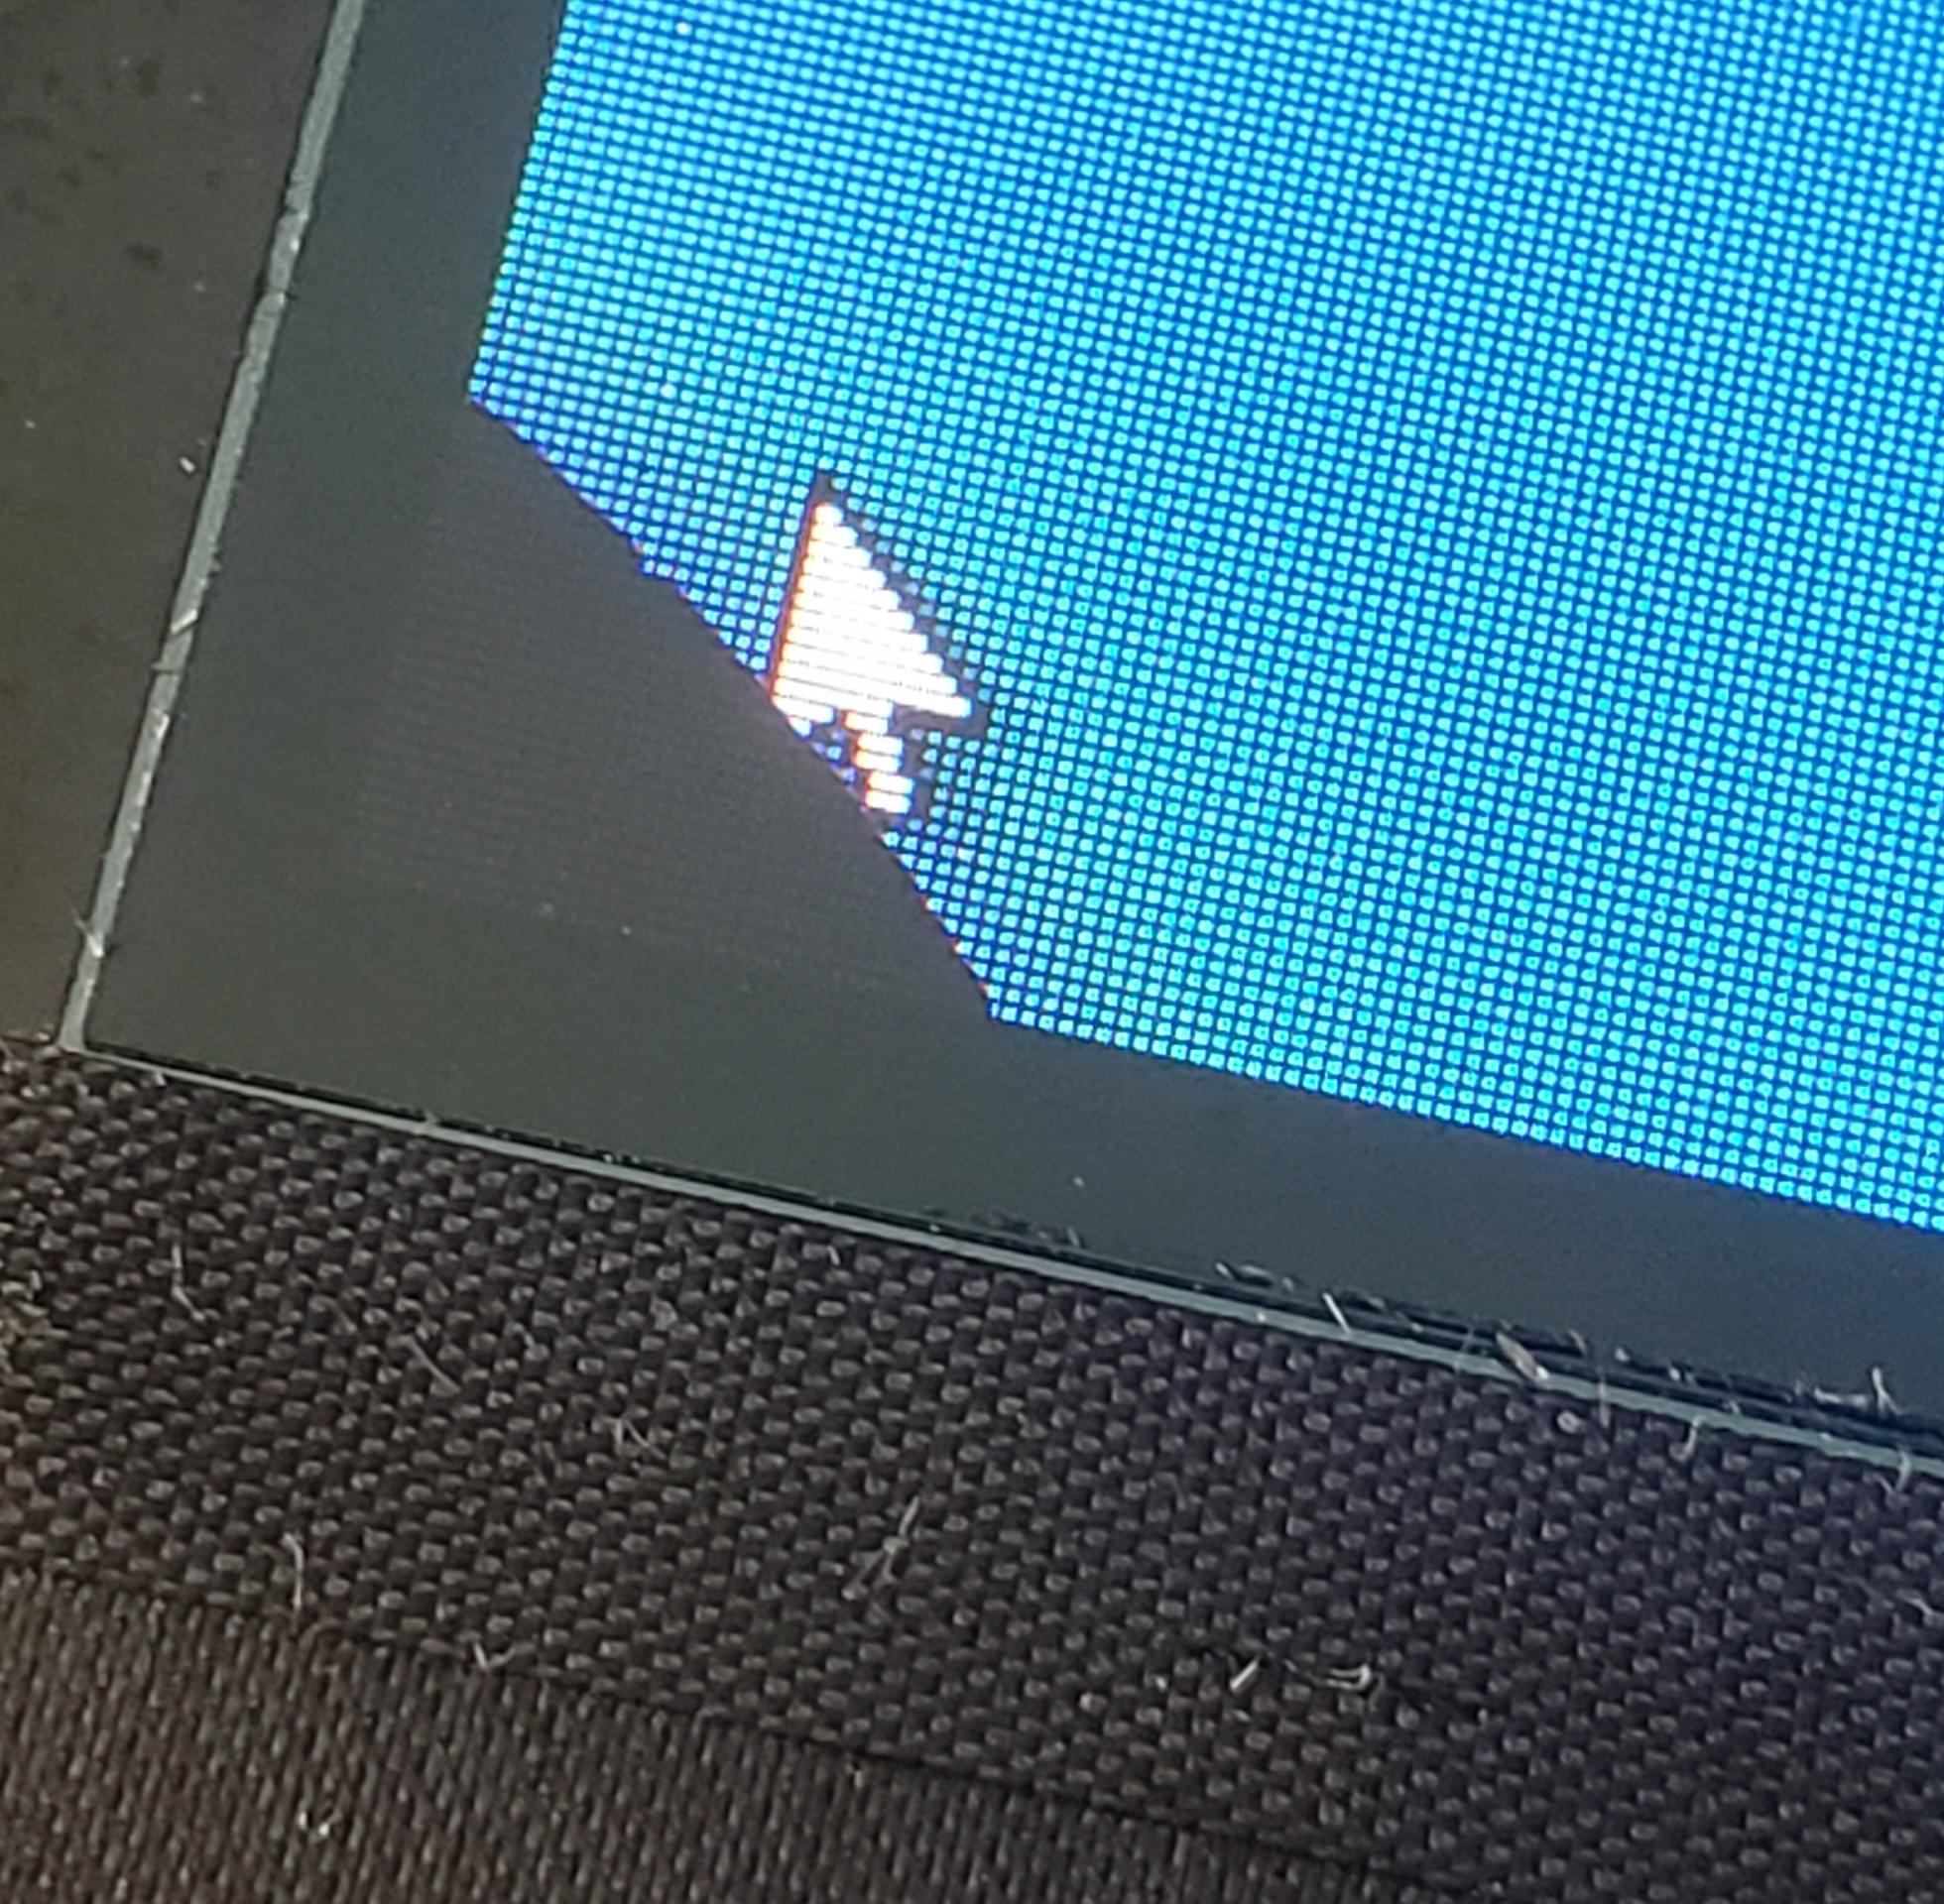
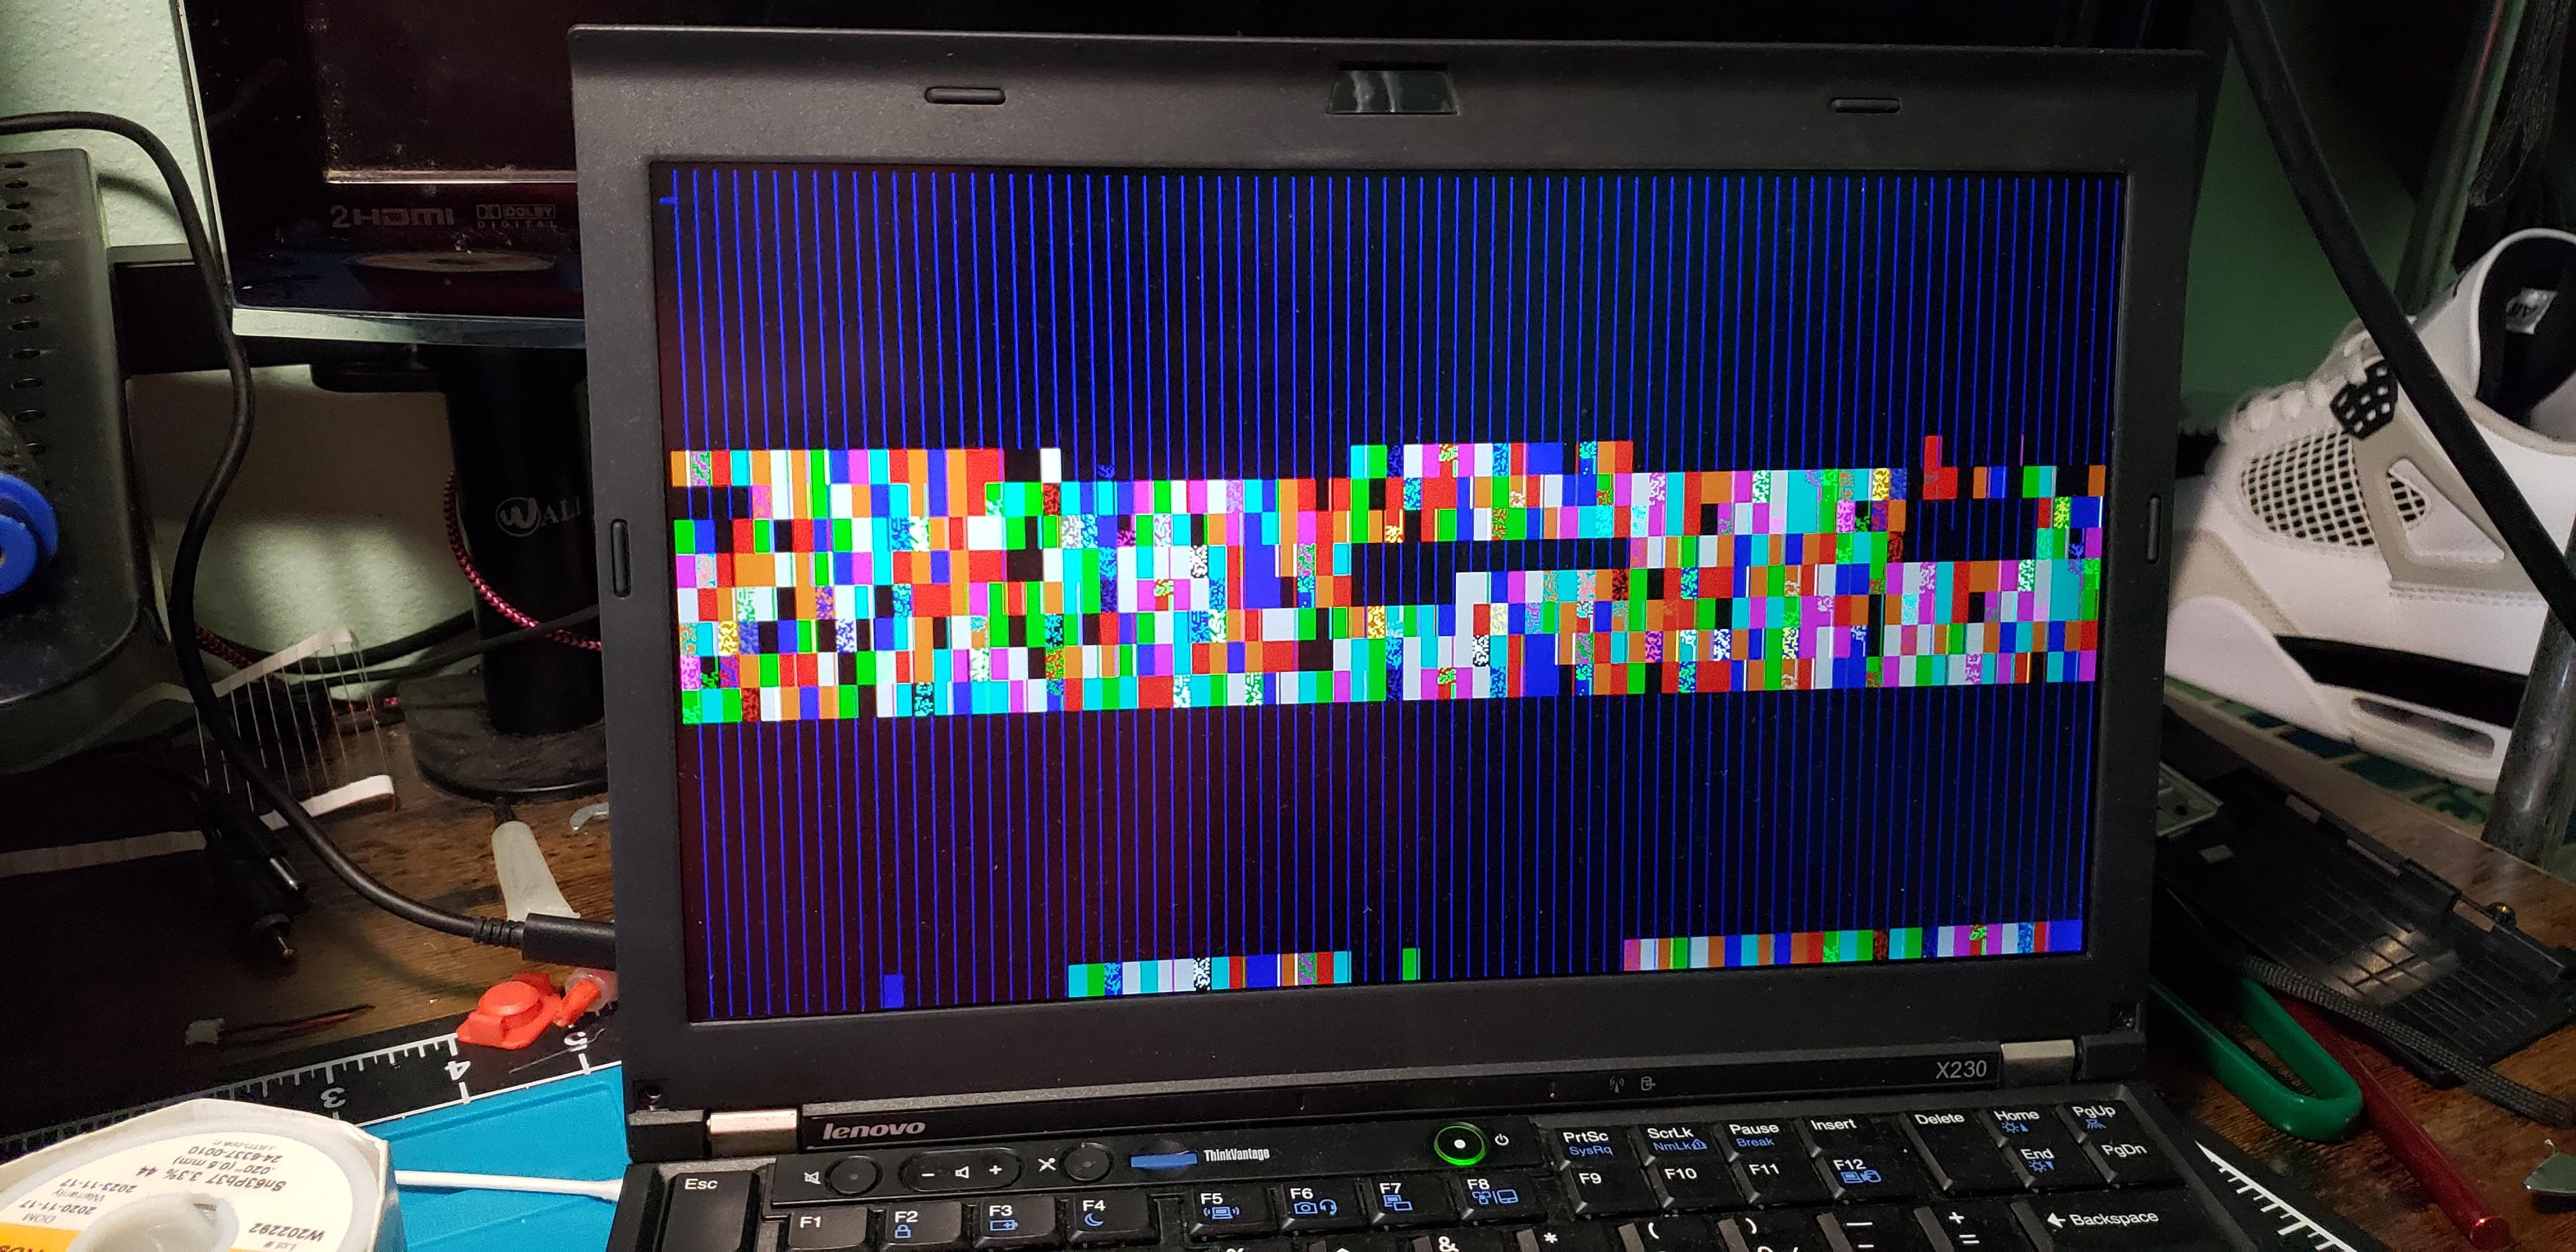 image caption: holy shit what the fuck
Okay, this is probably not supposed to happen... and had me worrying that I might have messed something up badly. So I went through the config settings a couple of times, reflashed, and got this:
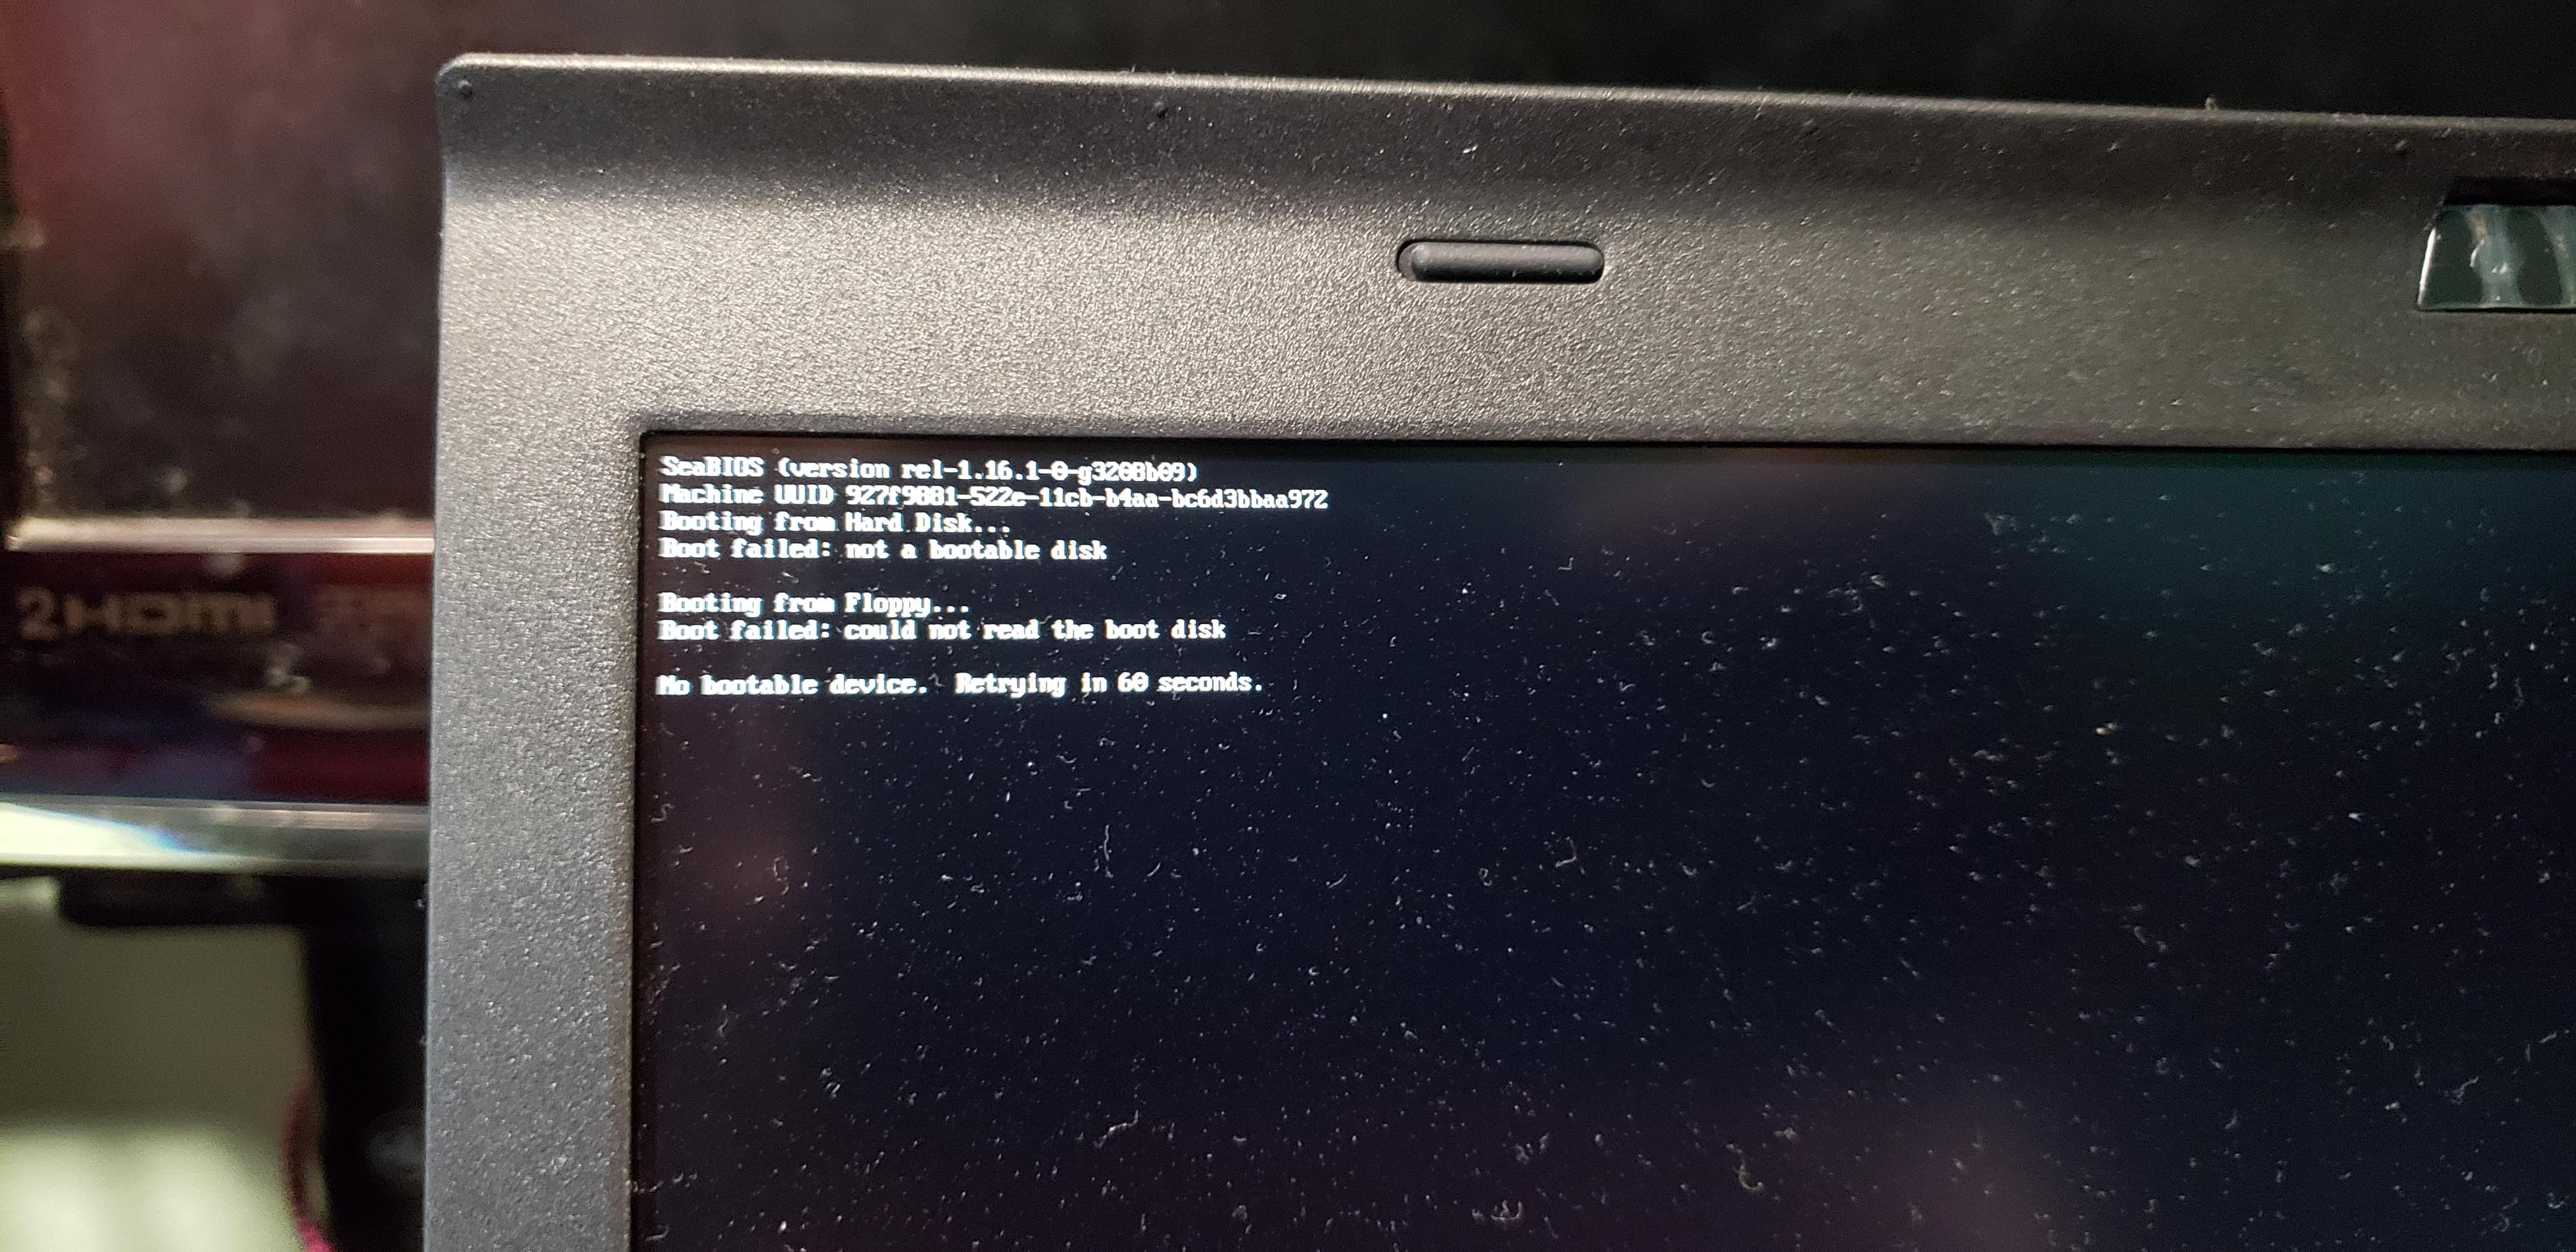 image caption: what is this? a bios for ants?
Something readable! Kinda... the screen's resolution is high for the size so when displaying the bios in native resolution it makes it look so tiny... back to the config.
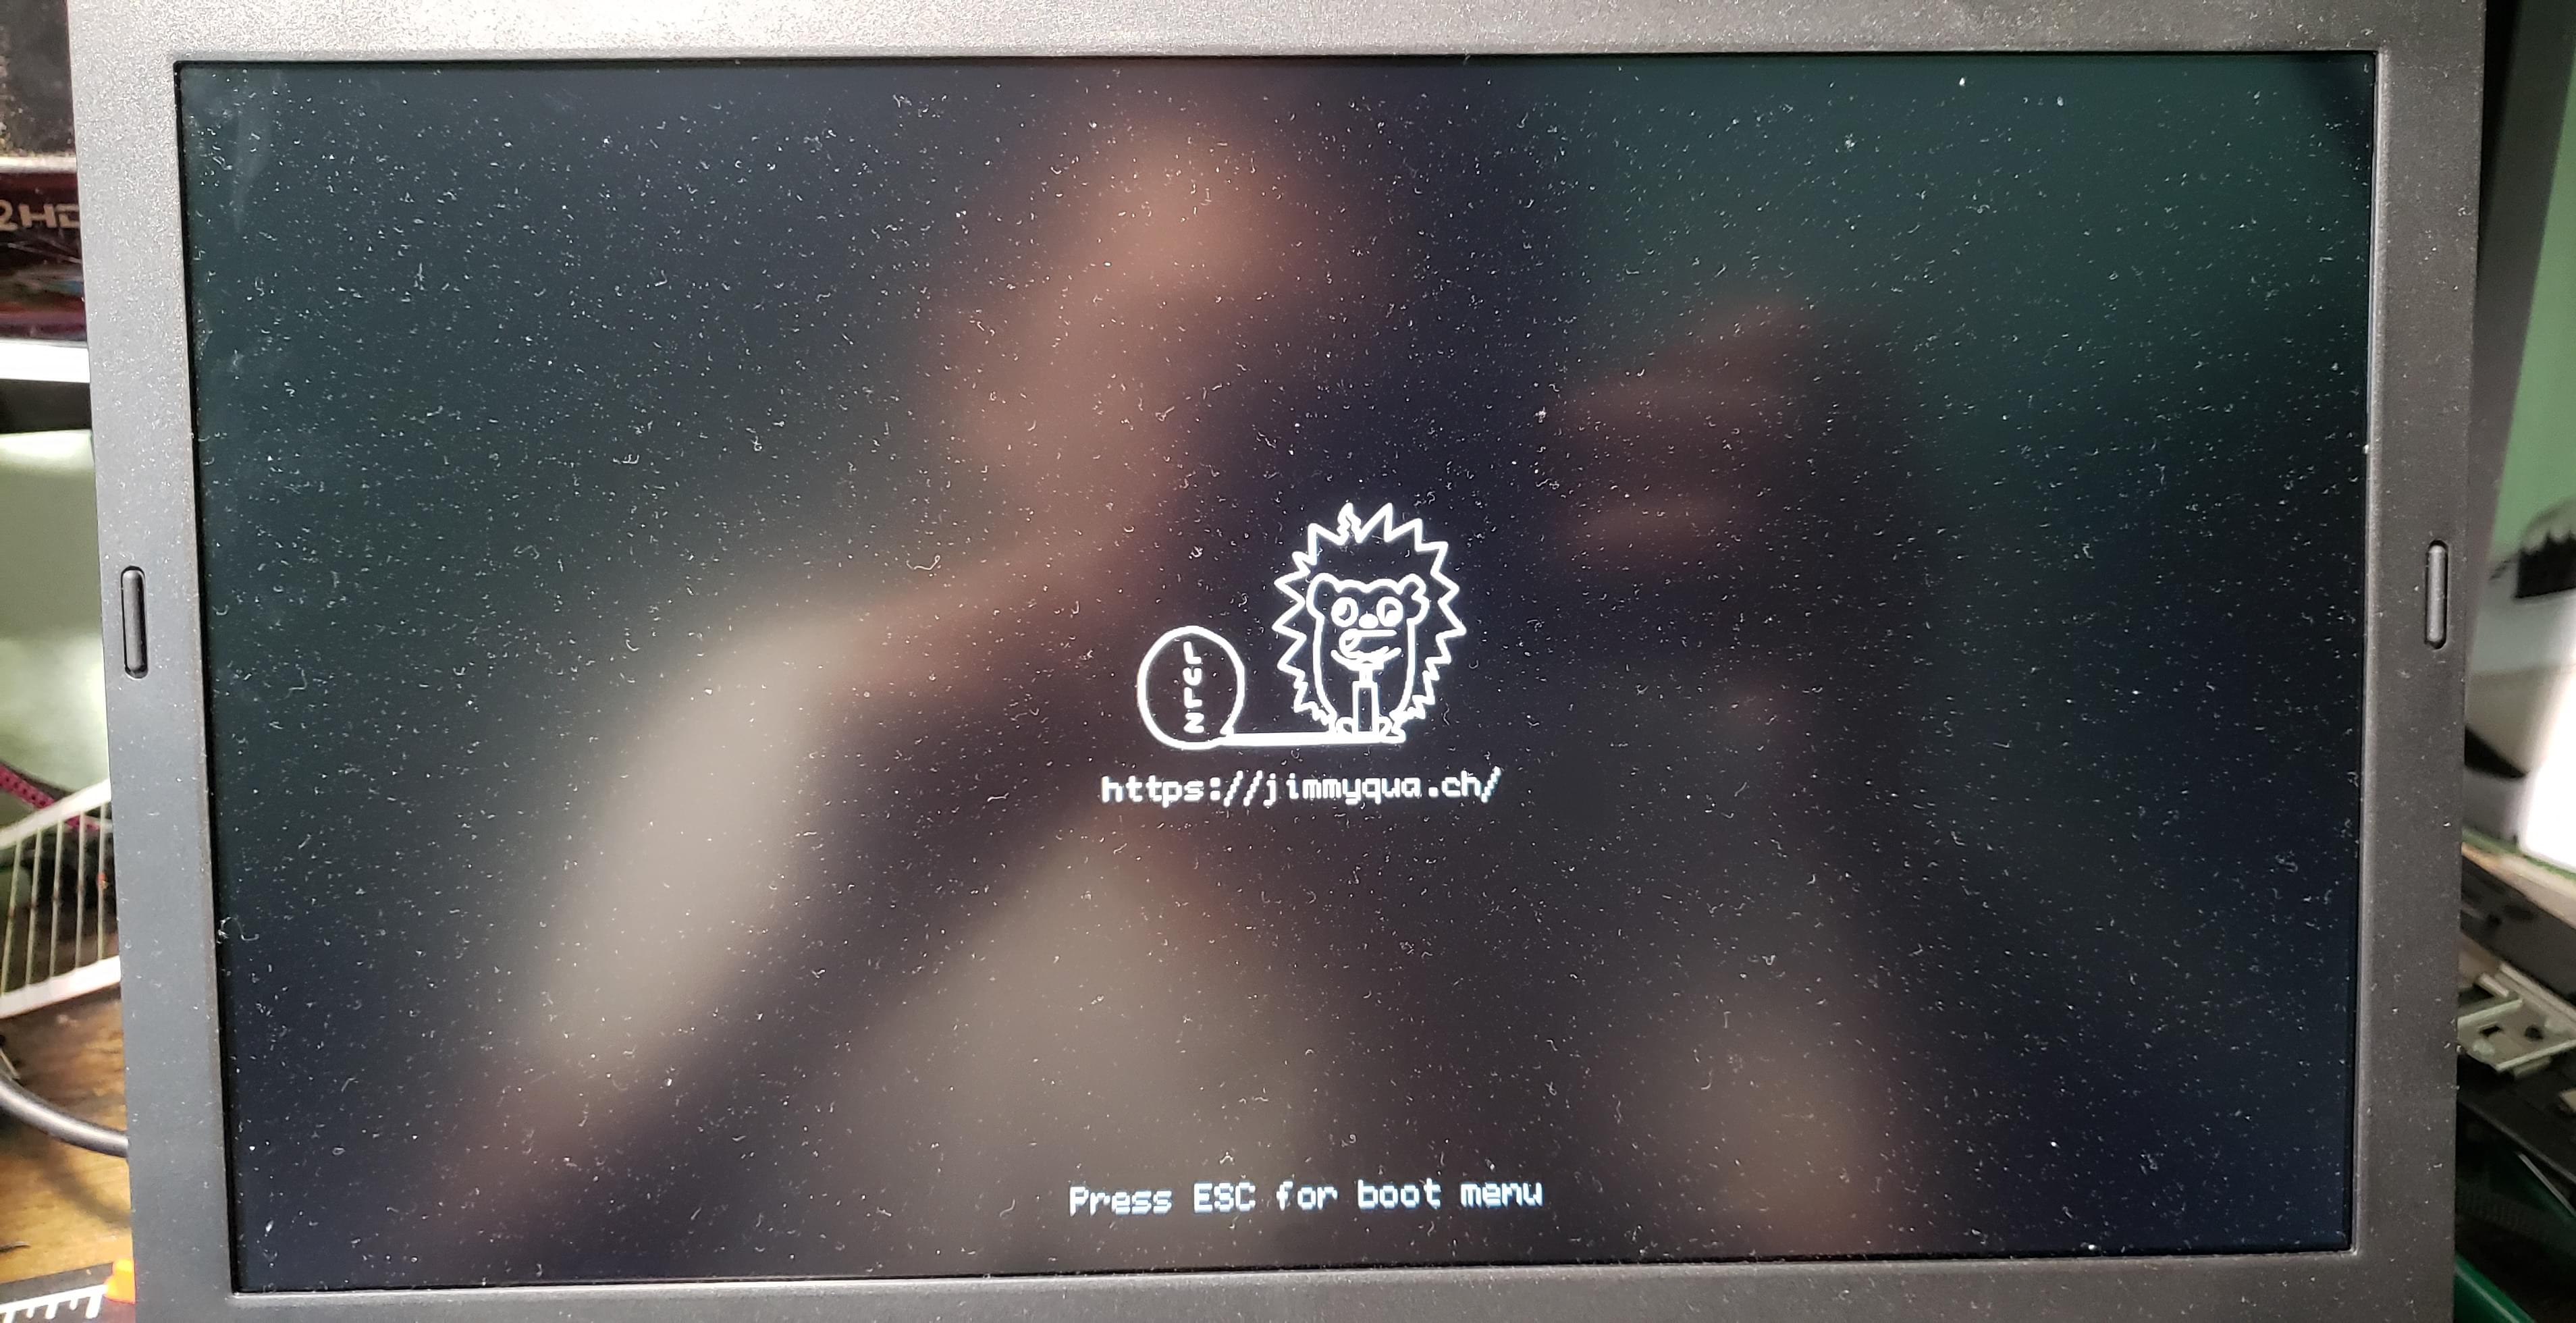 image caption: wow that screen is very dusty
It's finally scaled up to a reasonable resolution, but not without problems.
After messing with the config and flashing multiple times (at least 20 times), I settled after this attempt.
The resolution is good enough for the BIOS, but for some reason the splash screen only appeared for less than half a second compared to the other configurations. I'm not sure why, but honestly after so many flash attempts I don't really care anymore, this is enough for now.
Conclusion
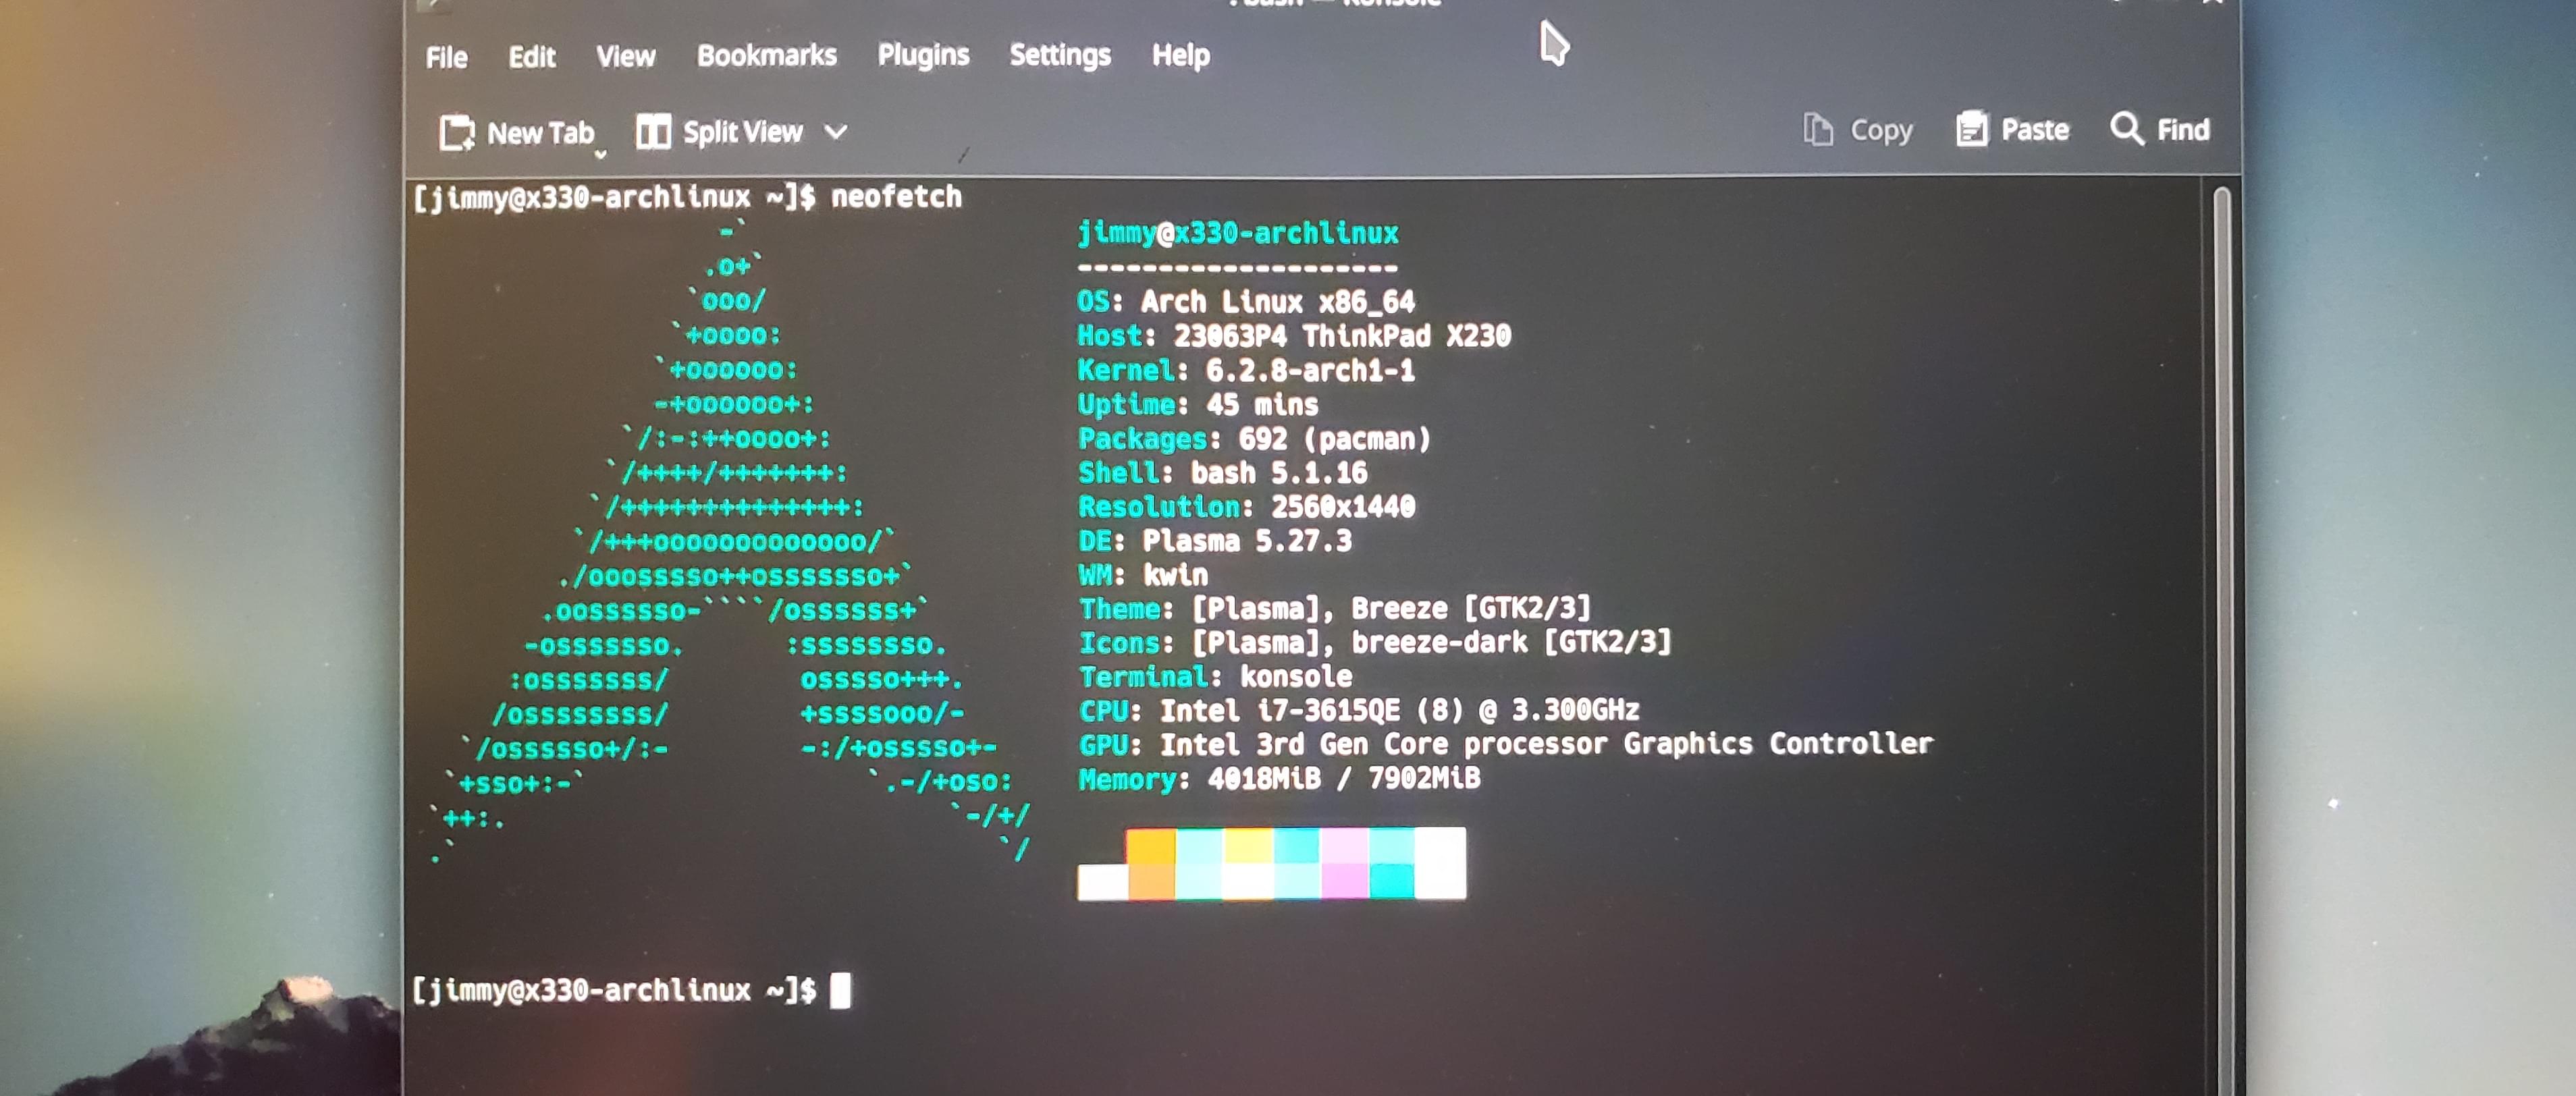 image caption: i use arch btw.
It works! i7-3615QE with a resolution of 2560x1440!
The adventure for this was very rocky, I had put this off and on countless of times throughout the years until now to achieve this level of satisfaction.
However, there were a lot of things that I had troubles with and still isn't perfect. So I may have to revisit this in the future and possibly try again.
Thanks for reading this far. I hope it was enjoyable to read and maybe useful, since I didn't want to write a full blown tutorial on how to do this. Although feel free to reach out if you do need more information or help.
This blog post may be updated/revised in the future.